How to use it

From a link to a lasting note

Reading Room is an app. Your own AI coding assistant (Claude Code, Codex CLI, or Gemini CLI) sits behind its buttons — you read a paper once, it writes a focused report into a catalogue you keep. Here's the whole loop.

The rhythm: click a flow — Analyze, Compare, Discuss, or Deep dive — fill in the paper(s), and the assistant writes it while the catalogue rebuilds itself.

Step-by-step walkthrough

1

Open the app, analyze a paper

Double-click ReadingRoom.app (macOS), ReadingRoom.bat (Windows) or ReadingRoom.sh (Linux), then click Analyze paper and paste an arXiv id or a link — or take a PDF from your computer: Choose PDF…, or just drop it on the panel. Most papers outside machine learning aren't on arXiv, and a paywalled one is only ever a file in your Downloads; that file goes into the catalogue the same way. Drop a stack of them, or use Add another, and Reading Room works through the queue one paper at a time. Options sets the depth, the audience and a focus for this run only. Pick which assistant writes it with the claude / codex / gemini pills; the gear next to them (also Terminal ▾ → Assistant settings) sets each assistant's model and reasoning effort once, and the app remembers it. Your assistant reads the whole paper and writes the report; Open report appears when it's ready. While it works, the card shows how long it has been going and the assistant's last line — and you can close the window: the run carries on and finishes writing. The first time an assistant runs in this folder it asks you to trust it (or to log in): the terminal comes up on top of the card so you can answer, and the run carries on by itself; Show terminal is there for anything else it might ask. A model your account can't use is refused before the run starts — or reported the moment the assistant says so — with a pointer to Assistant settings.
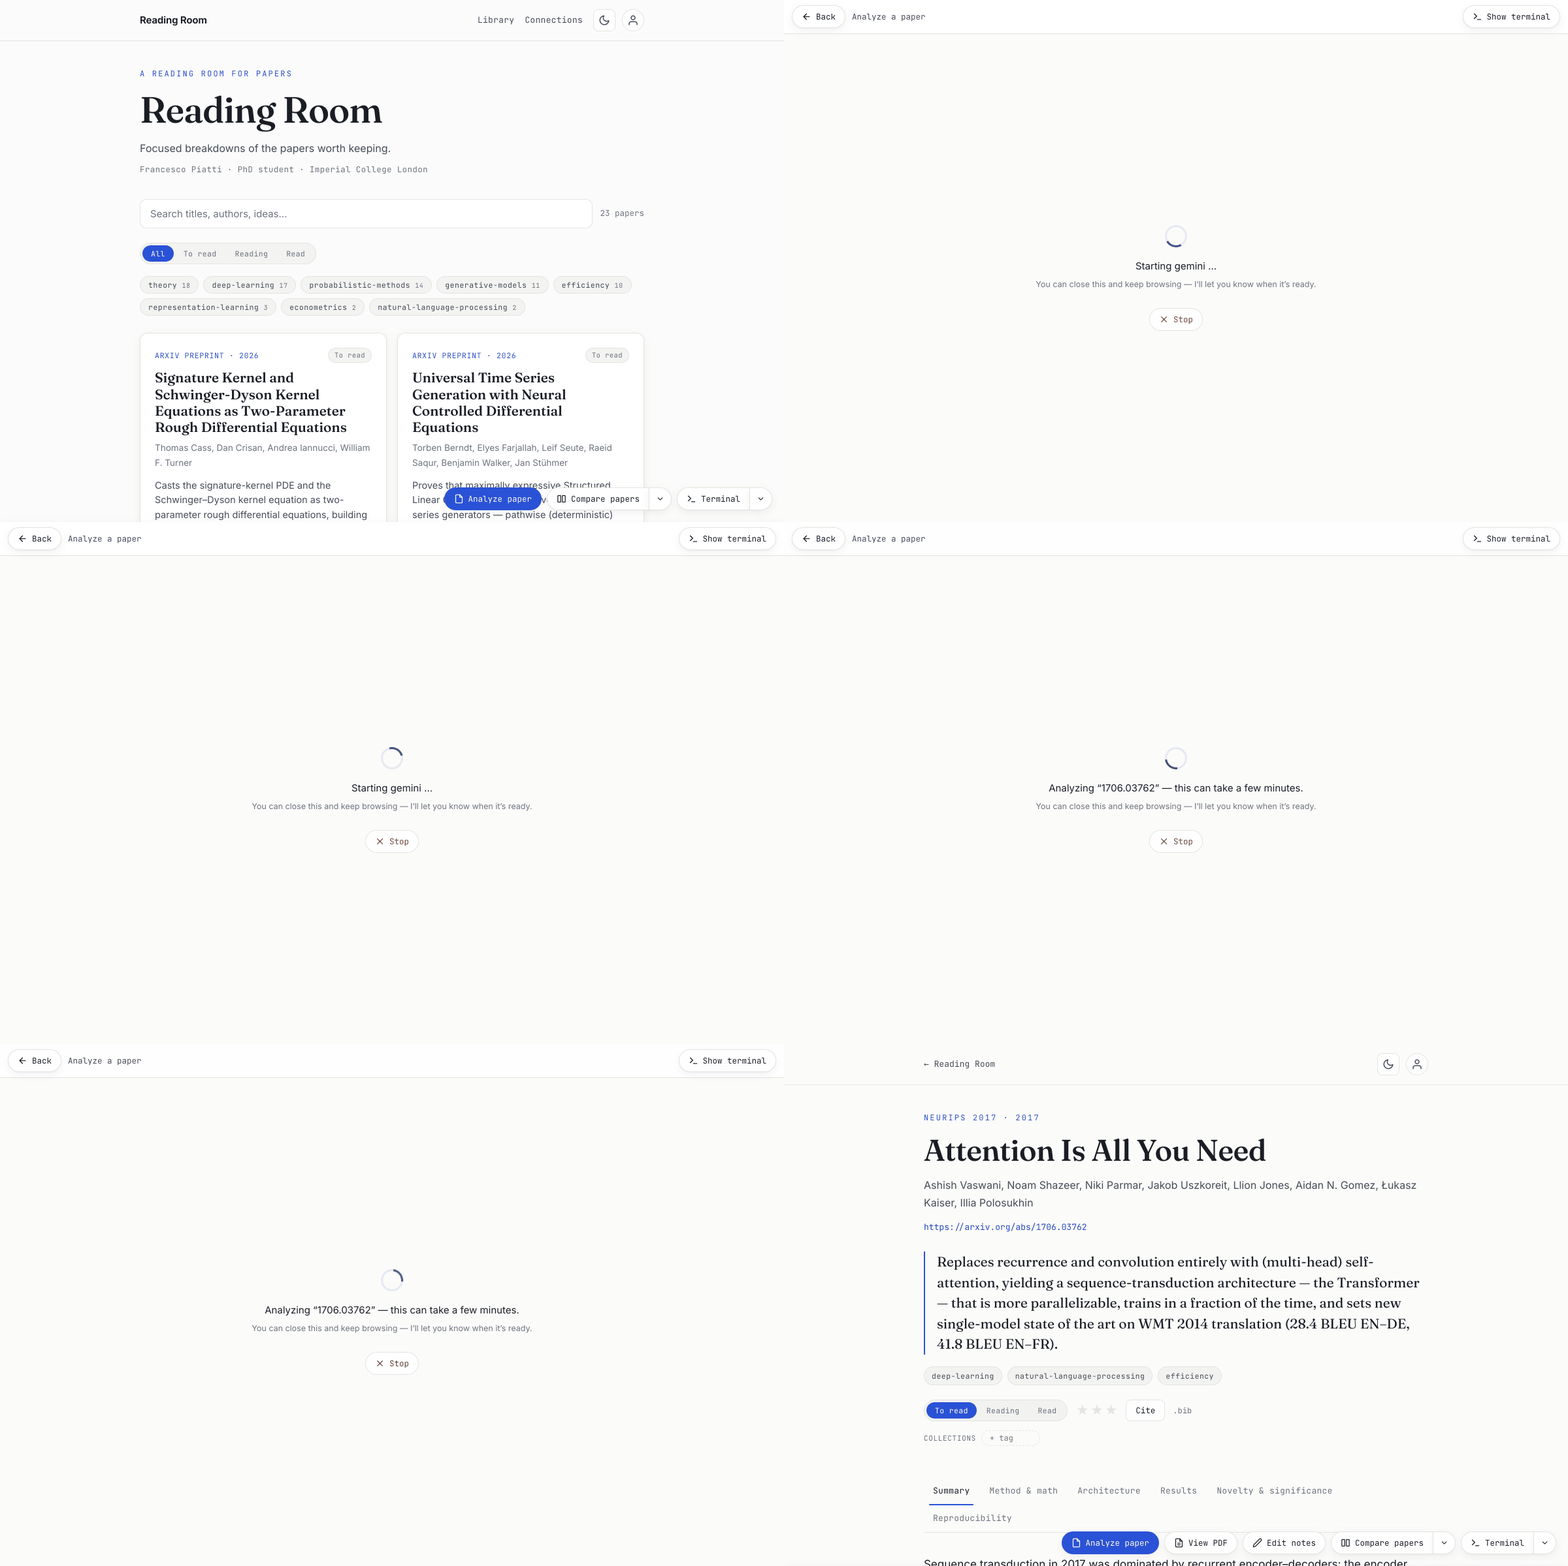
The Analyze flow: entering an arXiv id, the assistant reading the paper, and the report building.
Enter an arXiv id, the assistant writes the report, and a new card appears.
2

Read the report

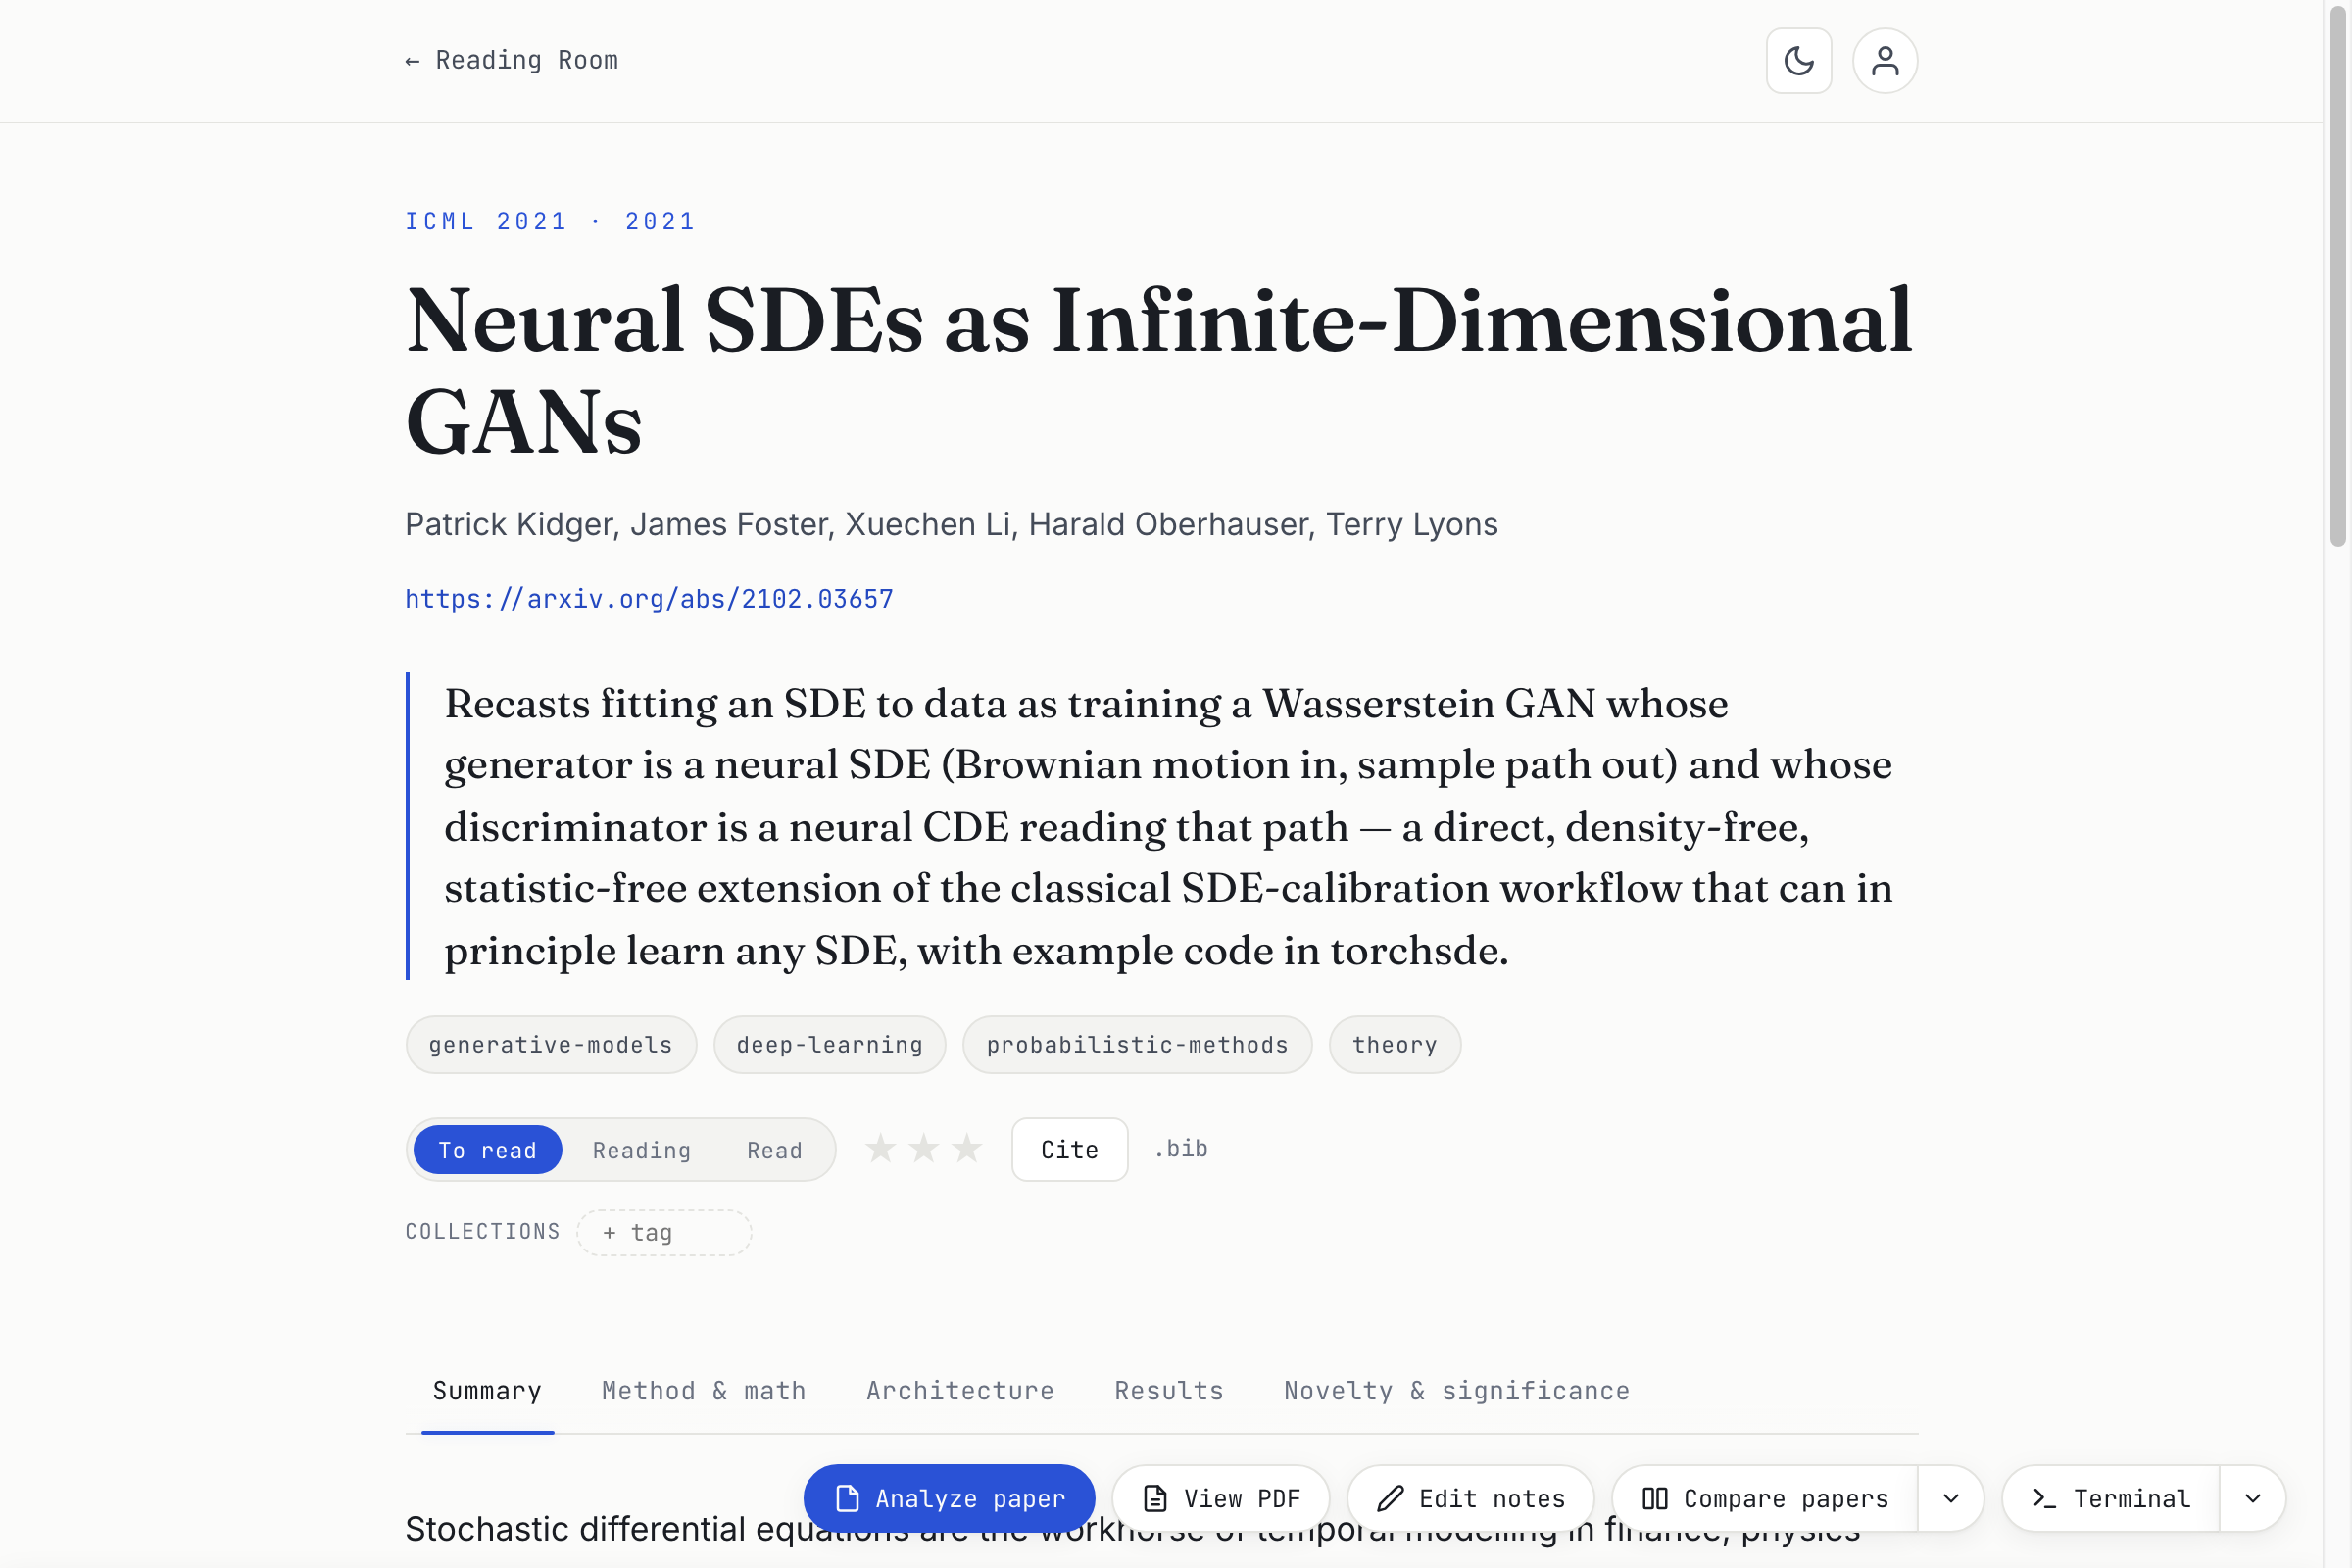
Each paper gets its own page: a one-paragraph lead, then focus views as tabs — the ones you chose in Setup, adapted to each paper (Summary and Significance are always written). Equations are real, selectable LaTeX; results land in tidy tables. Set a reading status and a star priority right on the page, open the paper itself with View PDF, and keep your own notes with Edit notes. Remove paper takes it out again — the report, its PDF and its page — after showing what depends on it.

reading-room · report
A report page showing the lead summary, tags, reading-status controls, and the focus-view tabs.
3

Browse, search & filter

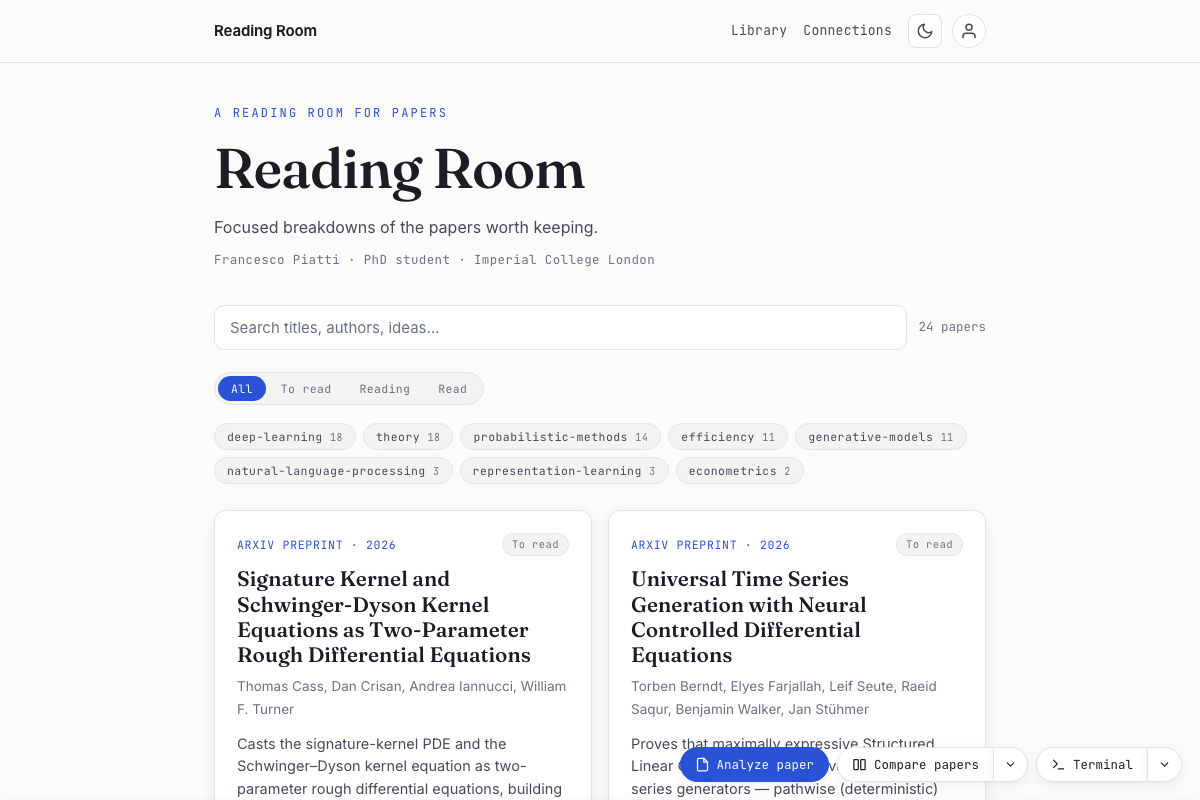
The home catalogue is instant: full-text search, tag chips, a To-read / Reading / Read filter, and a Sort (year, recently updated, title, priority, status) the app remembers. It shows your most recent papers first and keeps the page light.

reading-room · catalogue
The catalogue grid of paper cards with search, tag filters, and reading-status segments.
4

Follow the connections

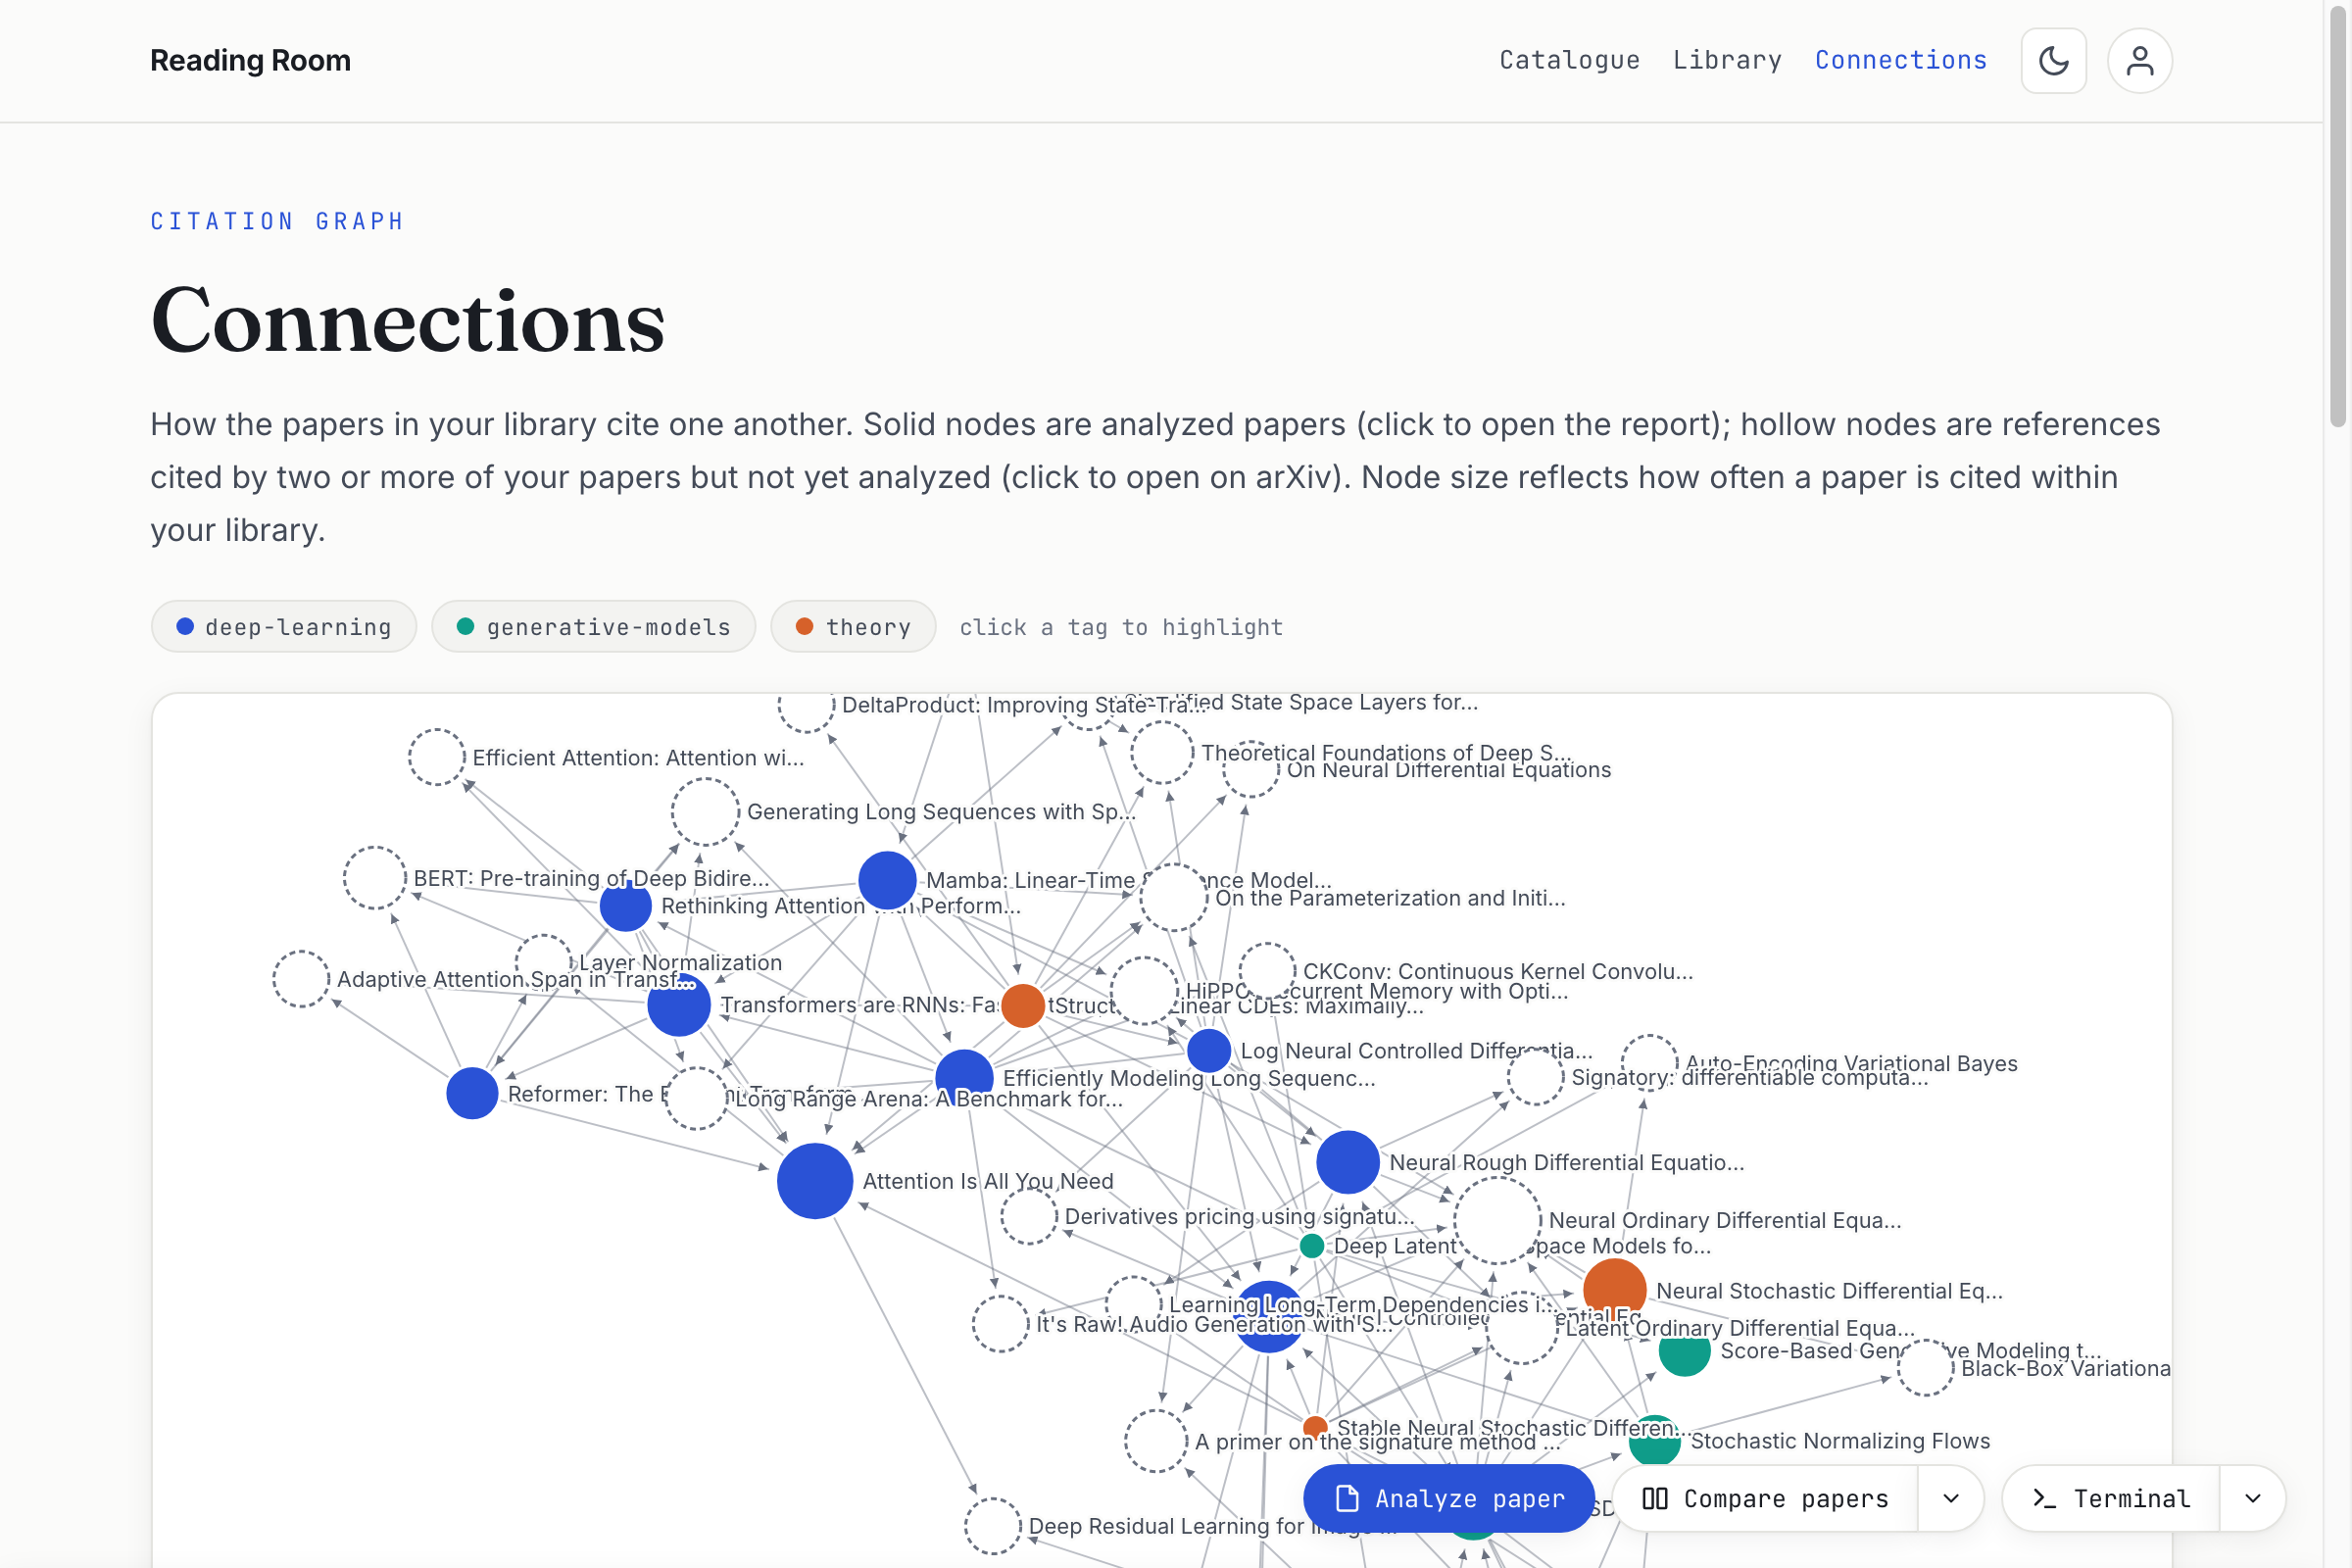
Open Connections for a force-directed graph of how your papers cite each other. Hollow ghost nodes are important references cited by two or more of your papers but not yet analyzed — click one and Analyze opens the flow with the id already filled in, or Dismiss it so it never resurfaces.

reading-room · connections
The connections graph with analyzed papers, ghost references, and a tag legend.
5

Keep your citations straight

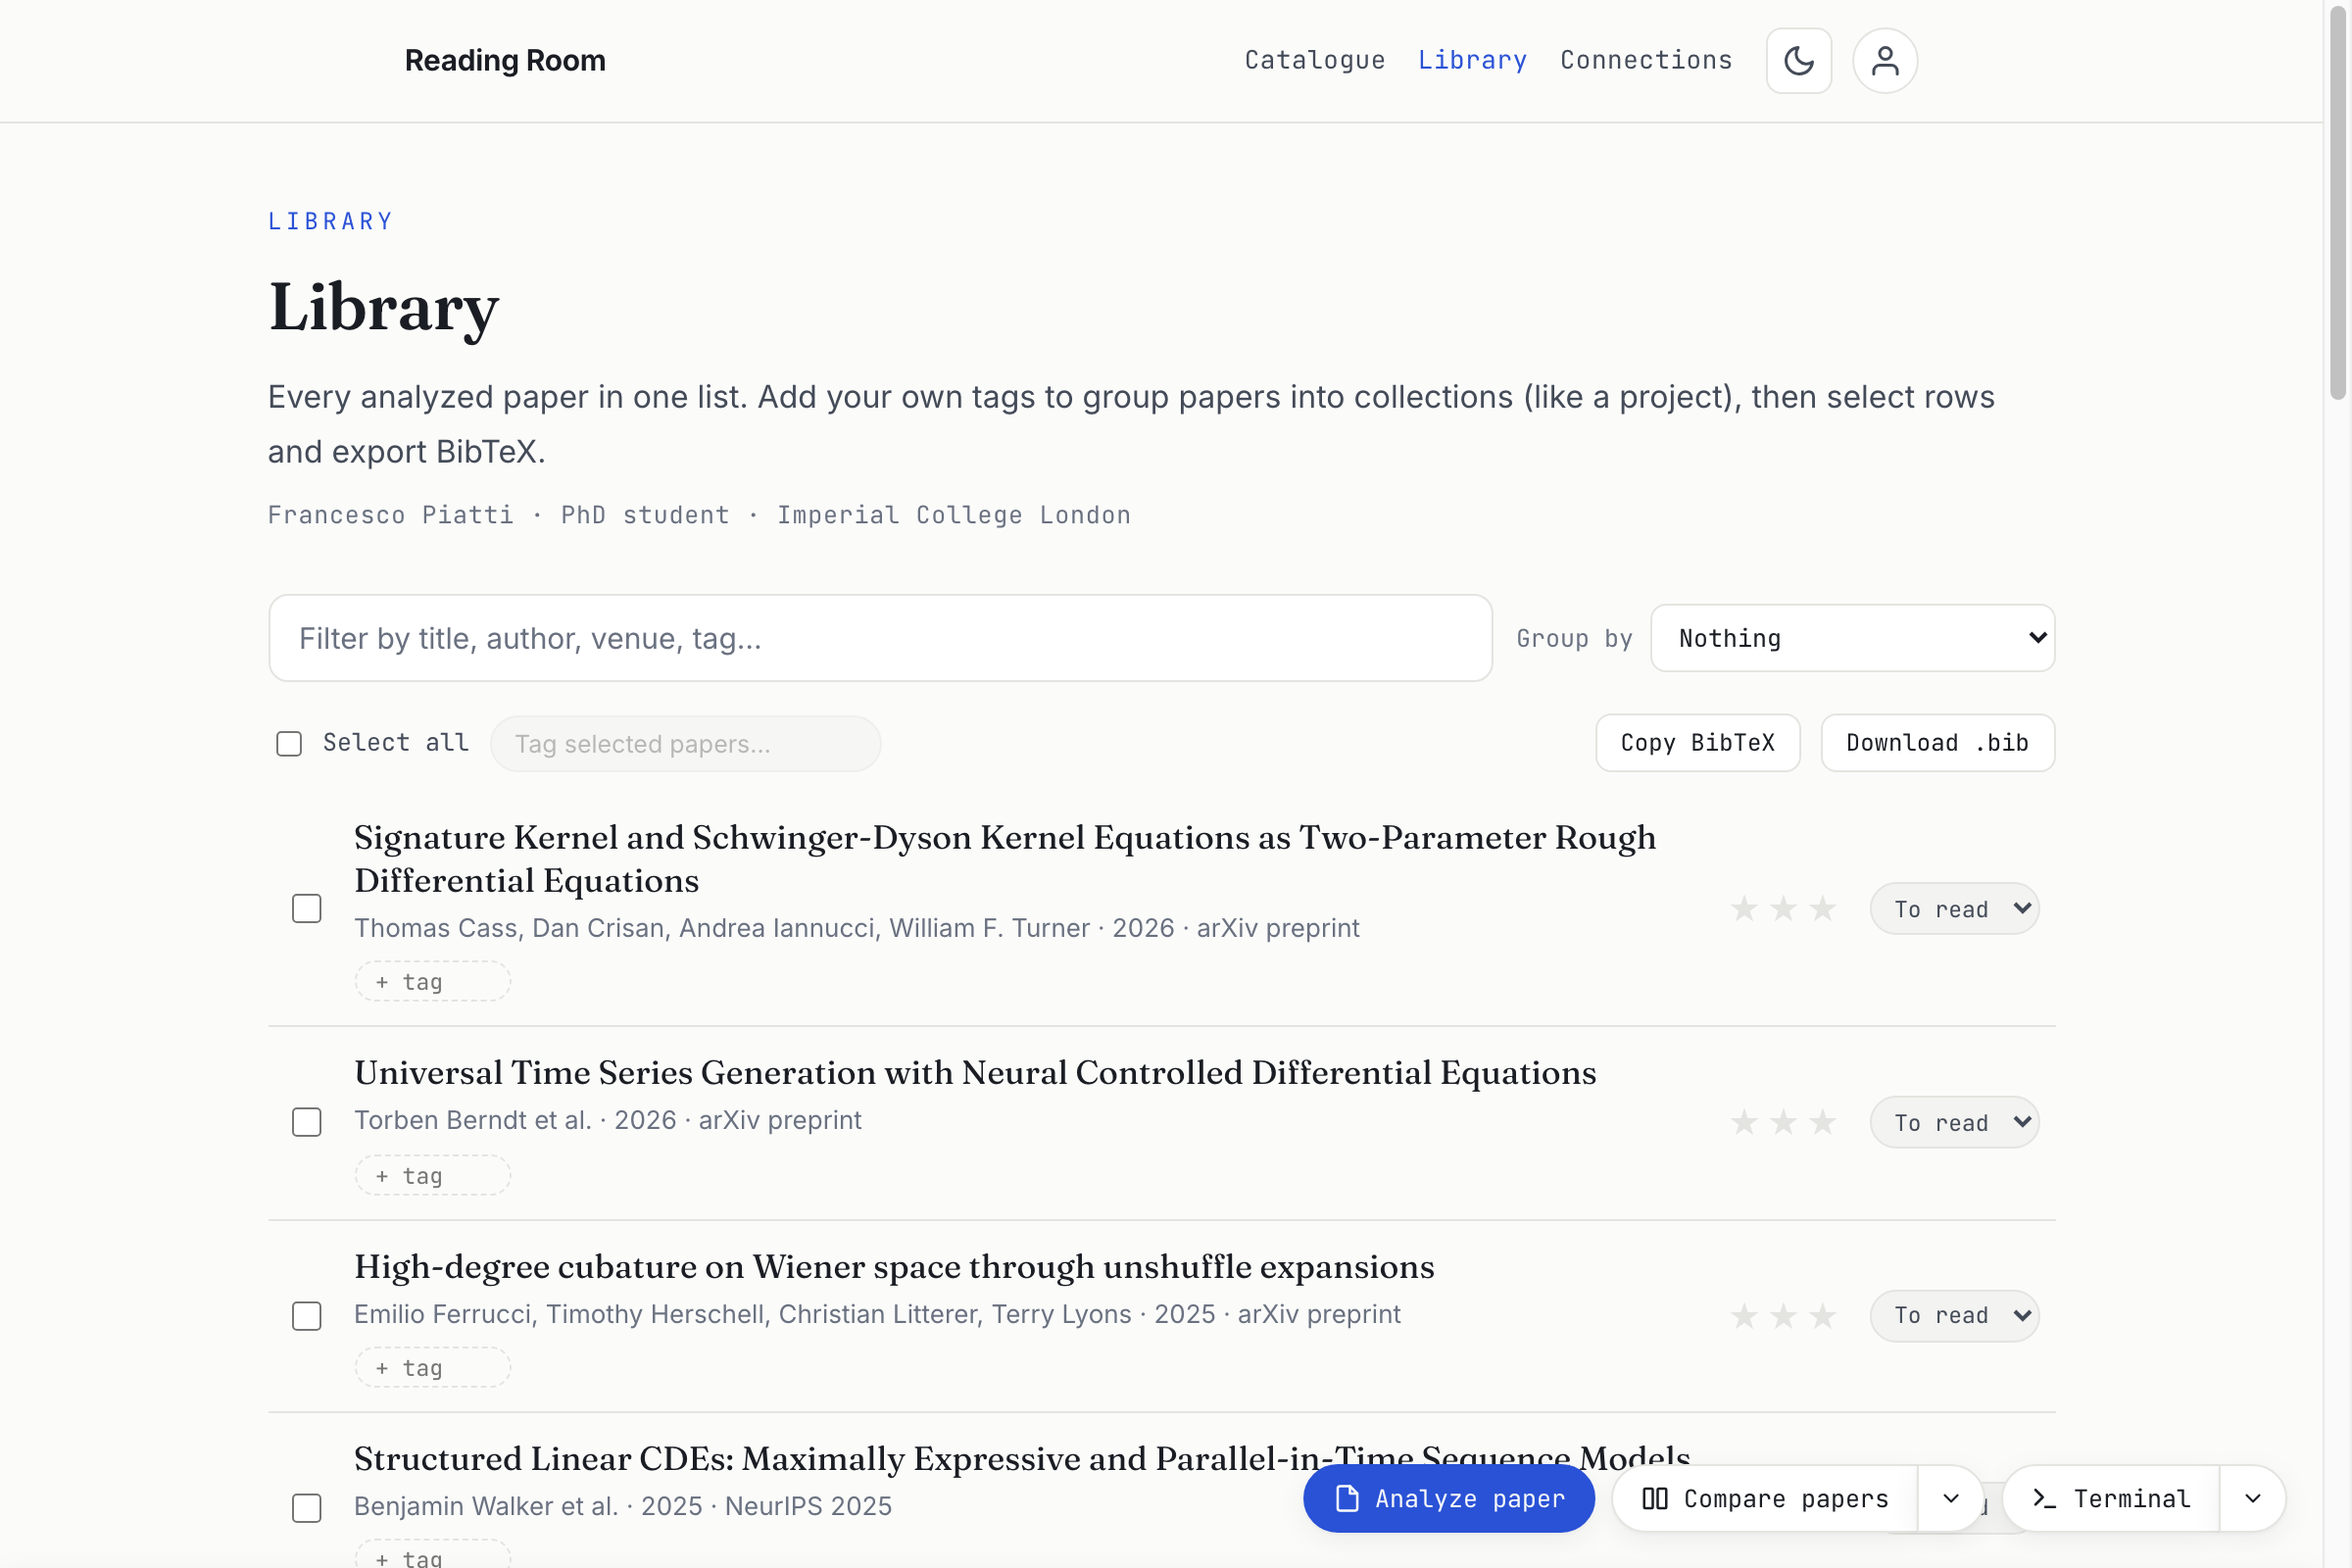
The Library is a grouped reference list with one-click BibTeX export, and your own custom tags act as collections. Ask your assistant to refresh venues (/refresh-venues in the Terminal drawer) and Reading Room checks DBLP for any preprint that has since been published, updating the venue + BibTeX while keeping the arXiv link for reading.

reading-room · library
The library page: a grouped reference list with BibTeX export.
6

Compare, discuss & go deeper

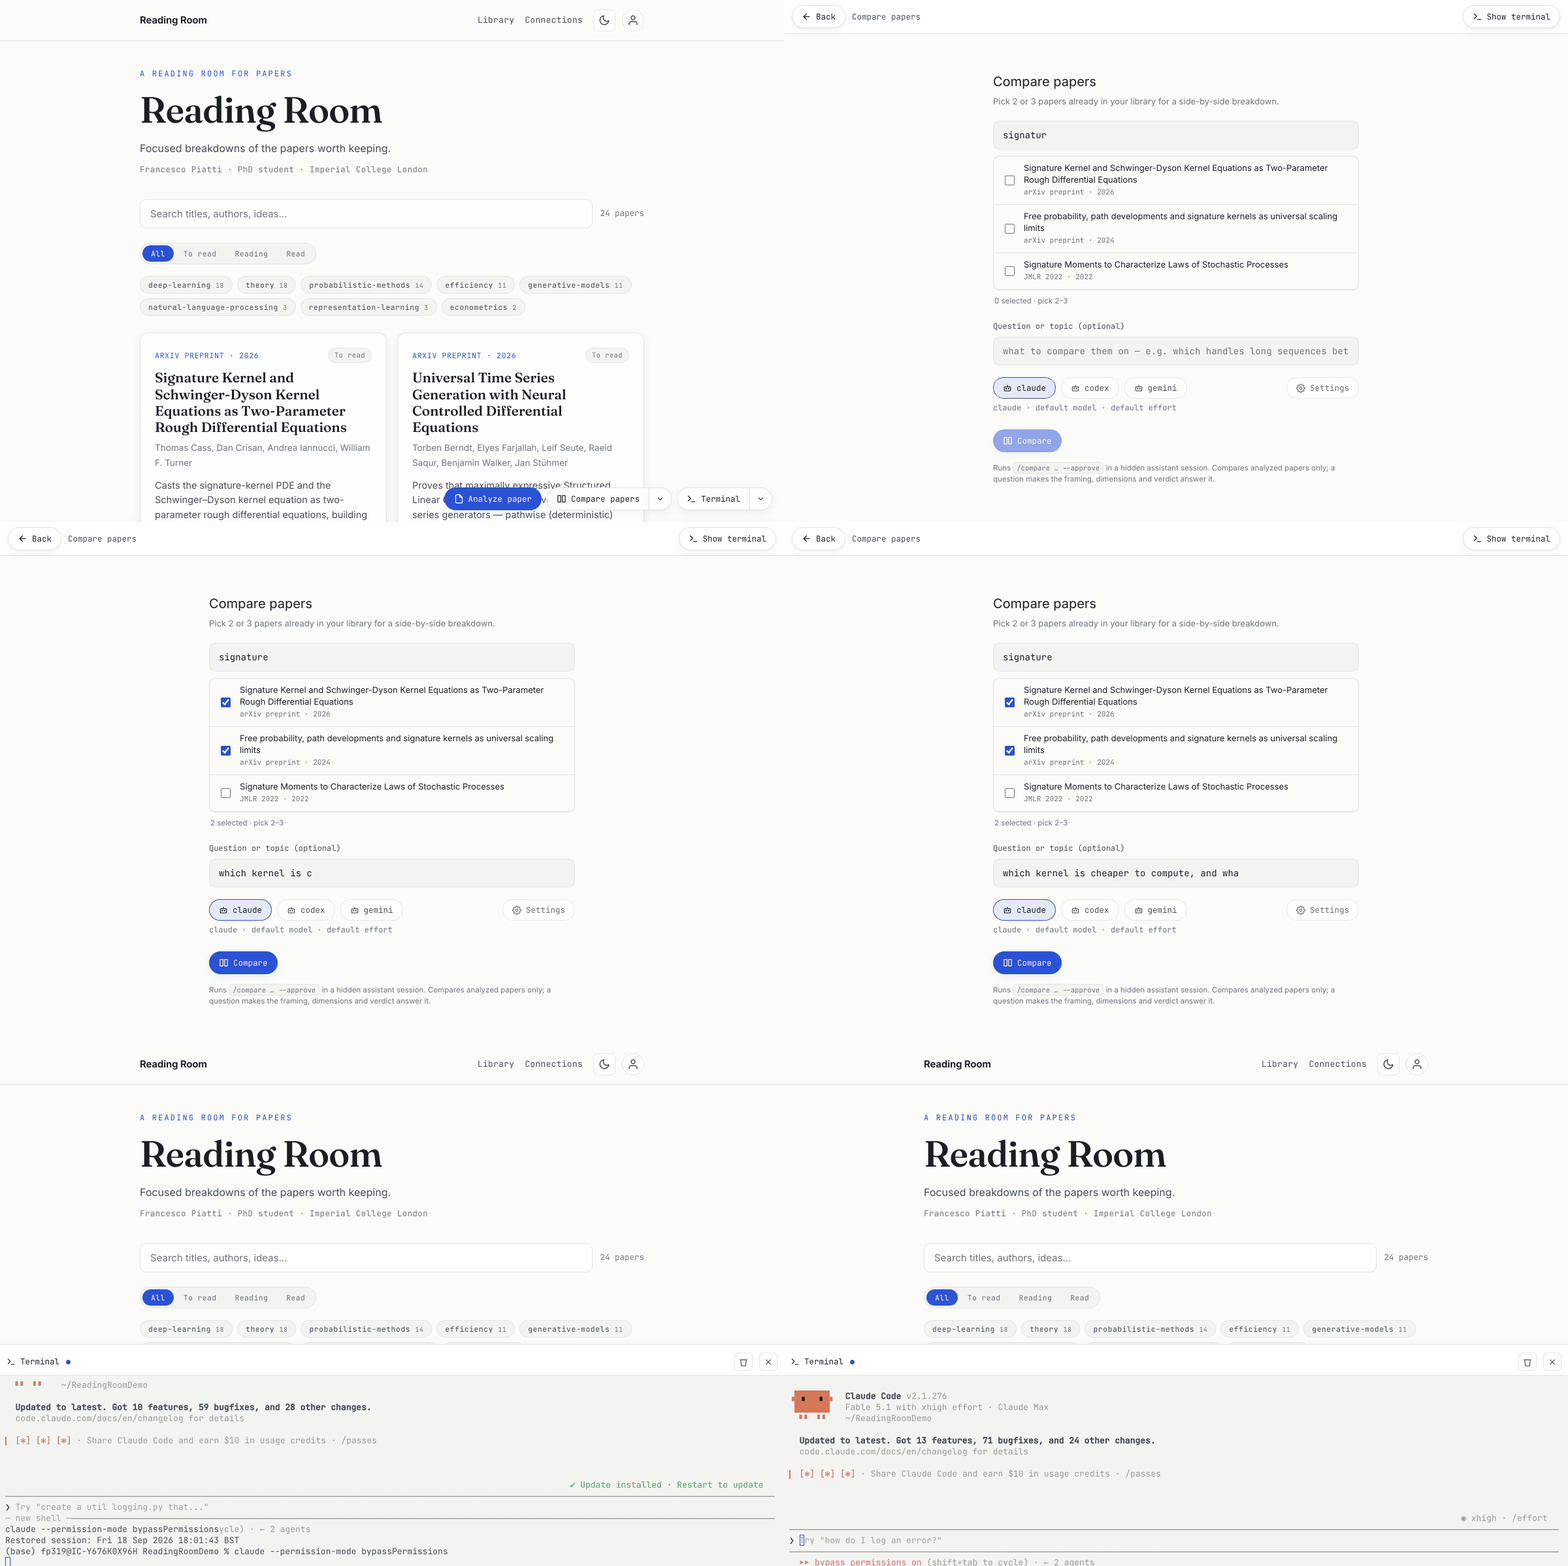
The ▾ next to Analyze switches flow — each opens the same kind of overlay, with a paper picker already loaded from your catalogue.

  • Compare — two or three papers side by side. Search the list, tick the papers, and optionally type a question or topic ("which handles long sequences better, and at what cost?") so the whole comparison is organised around answering it.
  • Discuss — a live conversation about a paper in the terminal, so it's the one flow that opens it. End chat saves the compacted chat as a Discussion below the reading list; Stop discussion discards it.
  • Deep dive — a worked derivation, proof or mechanism trace on one idea from a report, written as its own Deep dive tab or merged into a section you pick.
  • What every flow shares — Show terminal reveals the live session if the assistant needs you; Stop discards the run, and nothing half-written is kept; Open appears the moment the result is built.
The app: the catalogue, the flow overlays, and the terminal drawer.
One-click Analyze, Compare, Discuss and Deep-dive flows — with a Stop button on every run.
7

Tune it to you

The avatar in the header opens Profile and Setup. Setup is a short questionnaire — your name, your field(s), the default focus views (add your own), your tag vocabulary, and depth/audience. It works in any discipline, and every report still adapts its sections to the paper. On the last step you launch your assistant — the terminal opens on top of the window; if it asks you to trust the folder or to log in, answer there — and Apply setup writes your profile + field config through it, no command edits needed. Want it to know more? Profile → Edit full profile is a free-form page about your background, what you're working on, and what you want from reports; every report, comparison and discussion reads it.

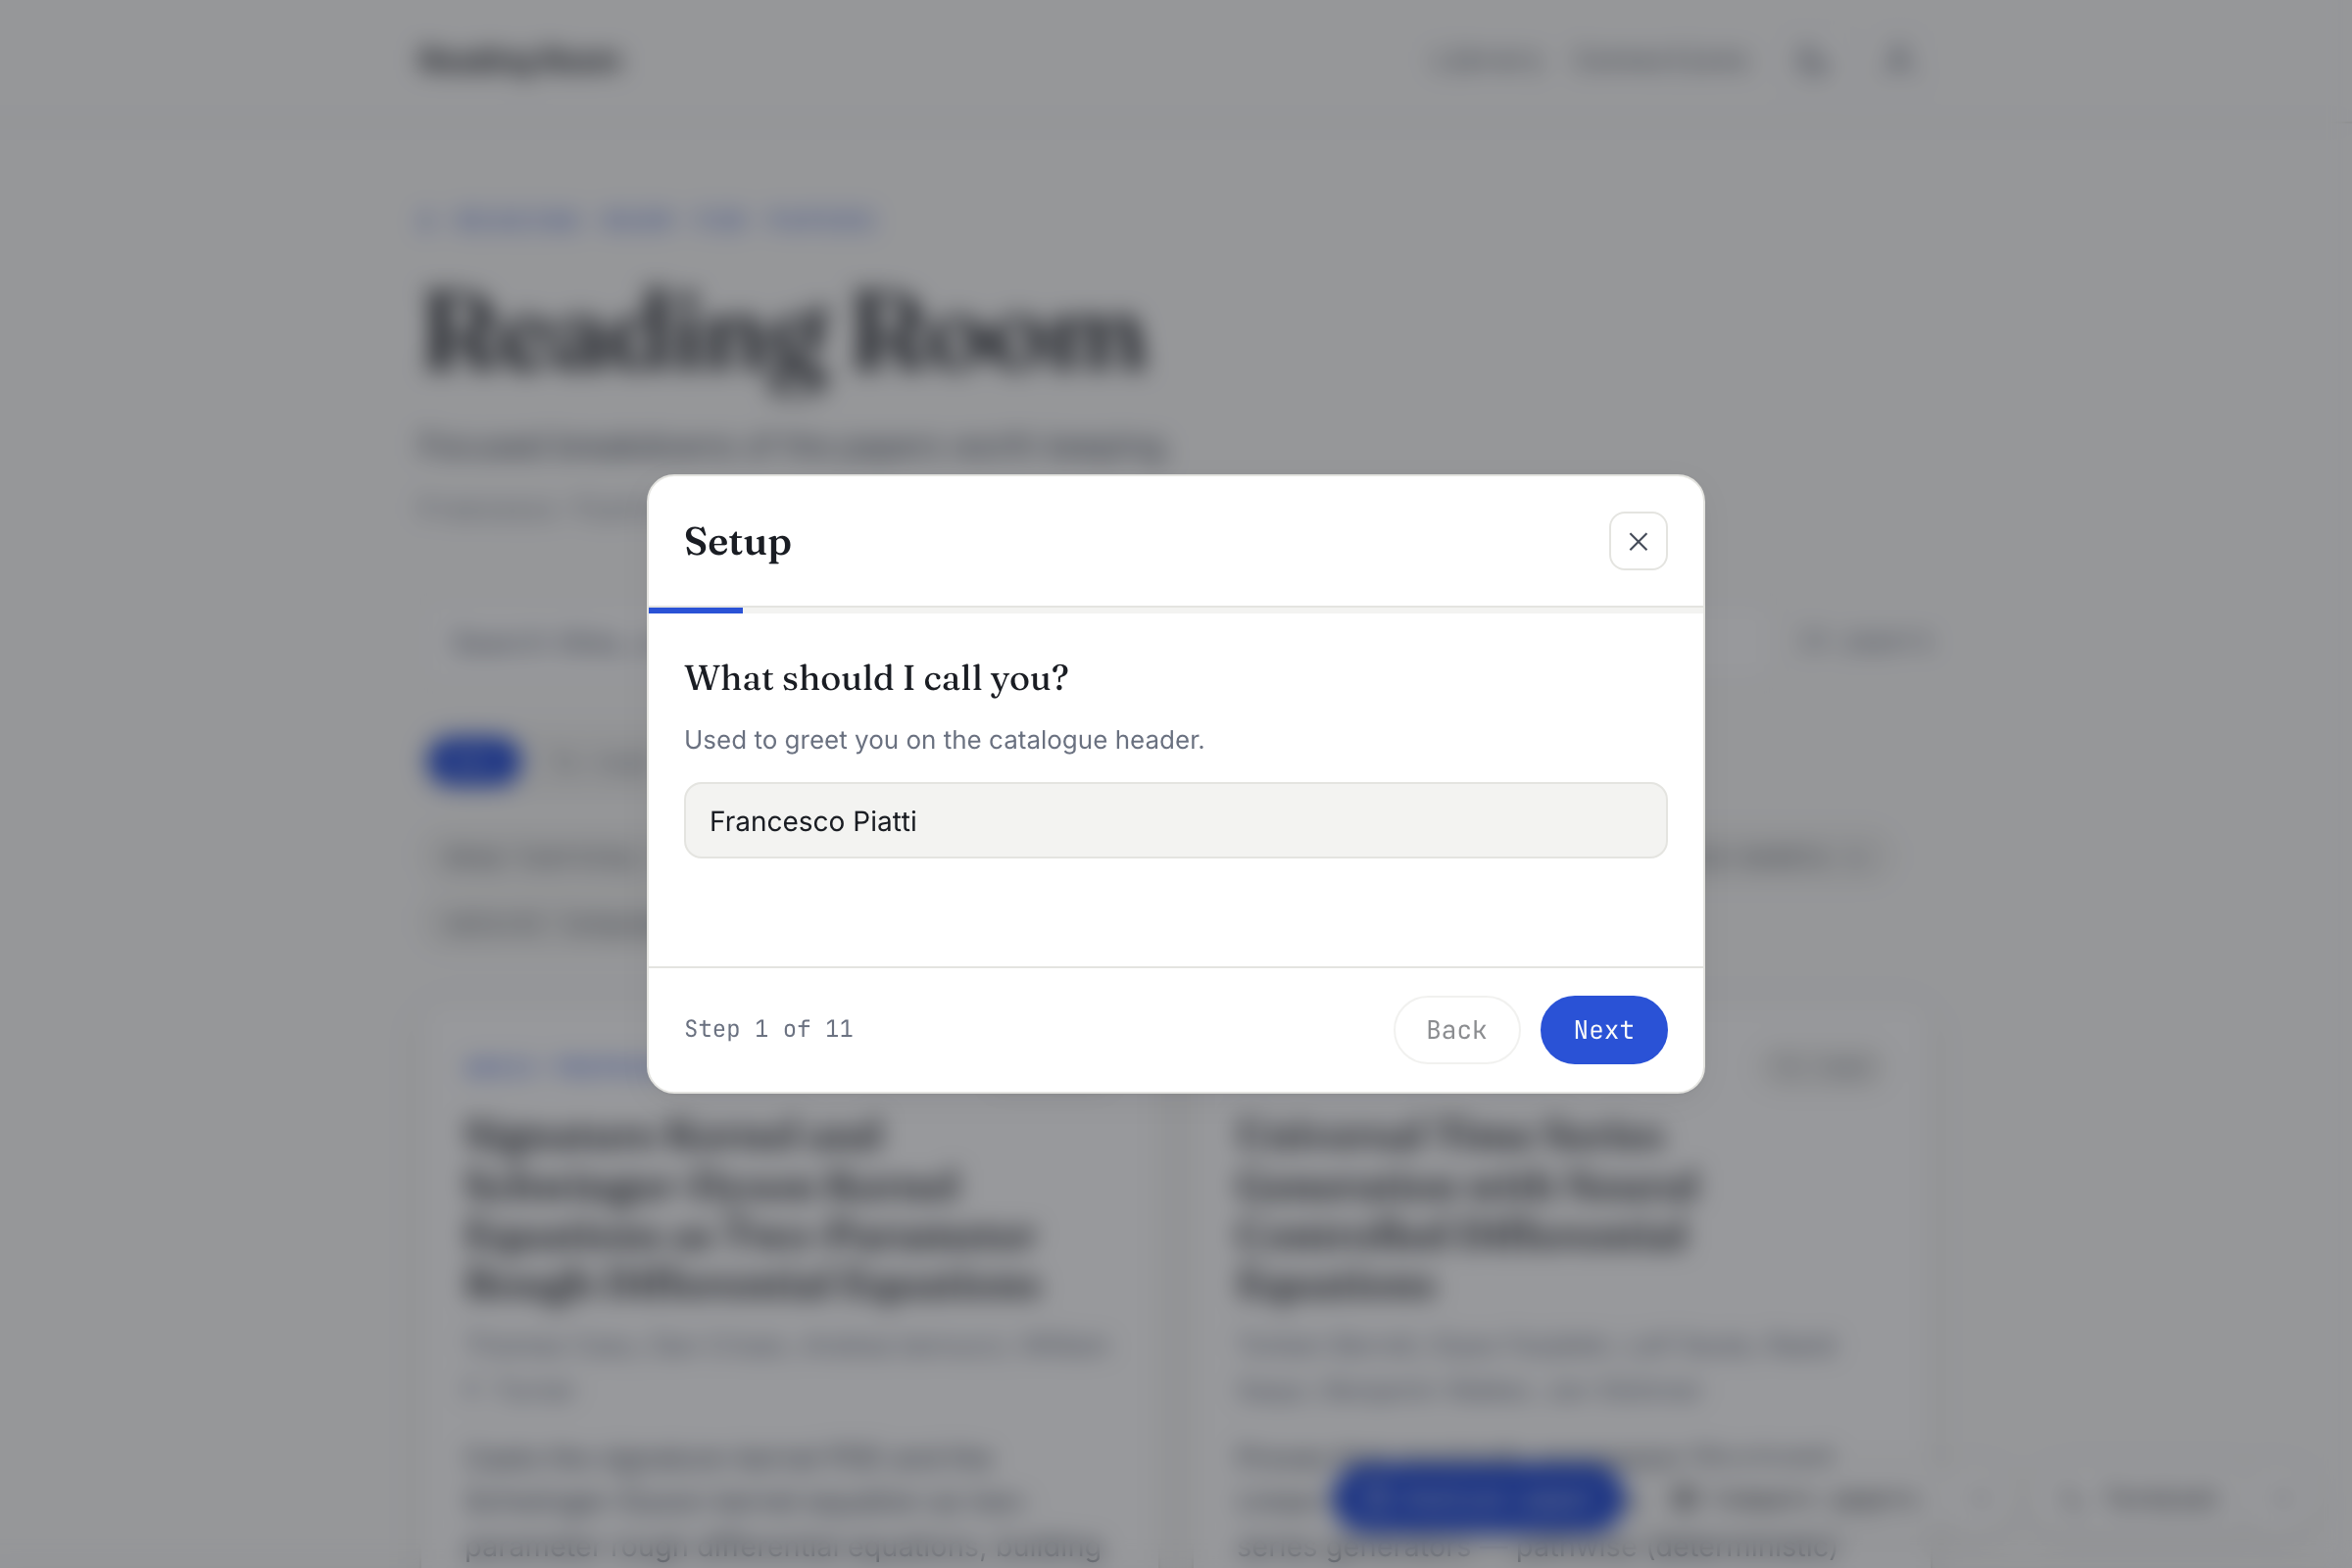
The Setup questionnaire — name, field, focus views, and defaults — over the blurred catalogue.
The Setup questionnaire — pick your field and focus views; launch your assistant on the last step and Apply setup writes your profile.
8

Keep it safe, keep it current

Back up (avatar menu) writes one zip with your reports, notes, comparisons, discussions, settings, optionally the PDFs — and your browser reading state (status, stars, collections). Save it to Downloads, the app's own backups folder, or a path you choose; Restore from zip brings it all back on a new machine (merge, or replace everything). Set automatic backups (daily, weekly or monthly) in the same dialog and the app writes them on its own. Diagnostics (avatar menu) shows the versions, which assistants were found, how this copy was installed and the app's own log — with a Copy button for a bug report. Updates (avatar menu) works however you installed: a Git clone is checked against its remote and fast-forwarded (if it can't be, your assistant finishes the job with /update); a ZIP download is checked against the published version on GitHub, and the latest ZIP is downloaded and unpacked over the app's own files. When a new version is there you choose Later (ask again at the next launch), Skip this version (never again for that version — a newer one will still be offered) or Update now (one click, plus a one-click restart when the app itself changed). Your library, notes and settings are never touched — but taking a Back up first never hurts.

9

Prefer the terminal?

Every button runs a command you can also type yourself: open the Terminal drawer, start your assistant with the ▾, and use /explain-paper, /compare, /learn, /deep-dive, /remove, /setup, /backup or /update — add --approve to skip a command's confirmation gate. Or skip the window entirely with cd workmode && npm start. Same assistant, same subscription, same library.